

| < Previous Page |
|
Painting Prep
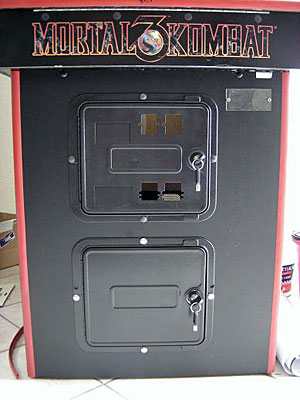
Most coin doors have a pitted texture and some are even powder coated. Powder coating is a process by which an electrically charged powder is applied to metal and heated at high temperature in an oven, effectively “melting” the paint to the metal at an atomic level. This process produces a very durable and lasting finish that won't chip or flake and can take a lot of abuse. Since most people cannot afford their own powder coat oven, we'll stick to spray paint ;)
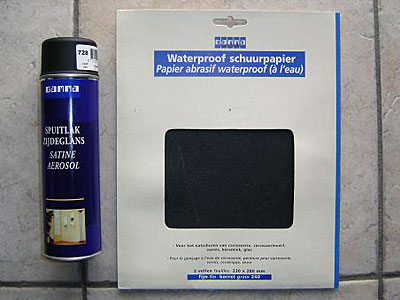
I've chosen a satin black finish to cover these doors only because it's hard to find Rustoleum's black textured paints where I live. If you have the option, go with the Rustoleum.
Lightly sand down the surface of the doors and frame with the 240 grit paper you used to clean up the edges earlier. I can't emphasize enough how important it is that you not go overboard on sanding, especially if you're not going to go back over it with a textured paint. If you rub to hard or to much, you can easily remove that textured surface we want to preserve (which would be bad).
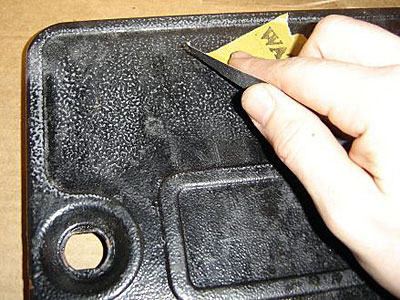
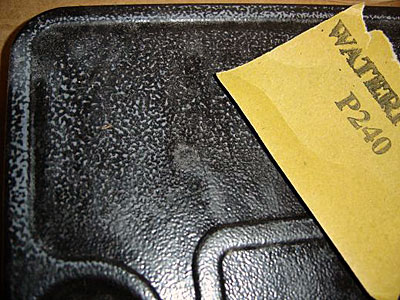
Once you've prepped both doors and frame assemblys, you're ready to paint. If you've never worked with spray paint before, there are a few things you need to keep in mind. First of all, there is such a thing as “too much.” Using several thin coats, versus one or 2 large coats, will prevent runs and thick spots. It will also help keep the texture, since the thinner coats wont clog up the cracks and crevices of the surface.
If you can, try to get your hands on a spray can “gun”. It's a small plastic handle in the shape of a pistol grip that snaps onto the top of any spray paint can. It includes a trigger that makes controlling the application of paint much easier. You can usually find them at Wal-Mart or any other DIY hardware store for $2-$5.
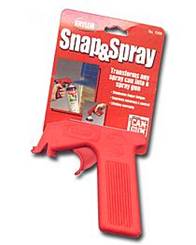
Once you have all your paints and materials, it's time to get down and dirty. I used a small cardboard box as a stand/painting booth. If you have the option though, tie the doors and frames to a piece of thin string or fishing line and hang them up outside on a tree limb or something similar.
Make your first pass with the paint very light. Again, we're not looking to clog the texture of the doors. Hold the can about 8-12 inches away from the surface and move your arm side-to-side in an even and fluid motion. Once you get the first piece painted, move on to the next one while the first dries. Repeat the process for all pieces, coating them 2-3 times.
If you've taken your time and remained patient, your end result should look something like what you see below.
(Note*: The white specs you see on the “after” pictures are actually pieces of dust that became statically charged when I brought everything in from outside.)
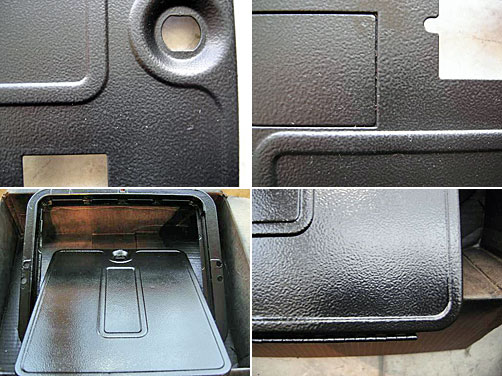
When you compare the before and after pictures, you can see how something as simple as a fresh coat of paint on a set of coin doors can really enhance the overall look of you cab. For taking only an hour of your time, this has to be one of the best “bang for the buck” projects.
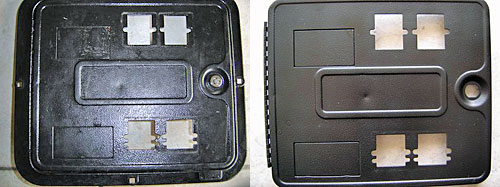
Before (Left) and After (Right)
I hope you are now in some way inspired to get the ball rolling on your arcade project and see this it not as a huge undertaking, but as a number of smaller, more manageable tasks. That's the mentality you need to keep when you start out in this hobby. Take everything in bites you can manage, a little here, a little there. In the end, you'll thank yourself for taking your time and paying a little closer attention to the small things. It pays off in the end.
